 by
by When you experience high CPU usage with no sound, it can be frustrating. There are a few things that could be causing the problem, but fortunately, there are also a few things you can try to fix it.
One possible cause of high CPU usage with no sound is an outdated or corrupt audio driver.
If you’re using Windows 10, you can try updating your audio driver by going to the Device Manager and finding the audio device under “Sound, video and game controllers.” Right-click on the device and select “Update Driver.” If that doesn’t work, you can try uninstalling and reinstalling the driver.
Another possible cause is a conflict between two or more programs. This is most likely to happen if you’re using multiple audio programs at the same time, such as music playback software and VoIP software. In this case, you may need to close one of the programs or change your settings so that they don’t conflict with each other.
If neither of these solutions works, there may be something wrong with your computer’s sound card or speakers. Try troubleshooting your sound card or speakers by following the instructions in their user manuals.
If you’re like me, you’ve noticed that your Windows computer’s audio CPU usage spikes to 100% when there’s no sound playing. This can be annoying, especially if you’re trying to work on something else and the audio is interrupting your train of thought. Luckily, there’s a simple fix for this issue.
Just go to your Windows Task Manager (press CTRL + ALT + DELETE) and find the “Audio” process. Right-click on it and select “End Process.” Your CPU usage should immediately return to normal levels.
Now, every time you want to listen to music or watch a video, just open up the Task Manager and repeat the process. It’s not ideal, but it works until Microsoft releases a patch for this bug.
Your Cpu Load is Affecting Your Audio Quality Teams
We all know that when we’re working on audio projects, every little bit of CPU power matters. But did you know that your CPU load can actually have an effect on the quality of your audio?
It’s true!
If your CPU is maxed out, it can cause all sorts of problems with your audio, from pops and clicks to glitches and dropouts. And even if your CPU usage isn’t quite at 100%, if it’s getting close, it can still cause issues.
So what can you do about it?
First, try to keep your CPU load as low as possible. Close any unnecessary programs and windows, and make sure you’re not running any resource-intensive tasks in the background.
If you’re still having problems, there are a few other things you can try.
One is to increase the buffer size in your audio interface settings. This will give your CPU more time to process the audio before it has to be played back, which can help alleviate some of the strain.
You can also try lowering the sample rate or bit depth of your project.
This won’t sound as good, but it will put less strain on your CPU and may help improve playback quality.
Finally, if all else fails, you may need to upgrade your computer or get a dedicated audio interface with its own built-in processor specifically for handling audio tasks. This is usually only necessary for professional studio applications though; most home users should be able to get by just fine with a few simple tweaks here and there.

Why is My Windows Audio Using So Much Cpu?
If you’re wondering why your Windows audio is using so much CPU, there are a few possible explanations. It could be that you have a lot of applications running simultaneously and the sound processing is getting bogged down. Alternatively, it could be that your sound drivers are outdated or corrupt, which is causing inefficiencies.
Finally, it’s also possible that you have a hardware problem, such as a faulty sound card.
If you suspect that your sound drivers are the culprit, the first thing to do is head to the manufacturer’s website and download the latest drivers for your model of sound card. If that doesn’t solve the problem, or if you don’t have access to updated drivers, you can try uninstalling and reinstalling your current drivers.
This will often fix corrupt or damaged driver files.
If neither of those solutions works, then it’s likely that there’s a problem with your hardware. In this case, the best course of action is to take your computer to a qualified technician who can diagnose and repair any hardware issues.
How Do I Fix High Cpu Usage by Audio Device Graph Isolation?
If you’re experiencing high CPU usage by audio device graph isolation, there are a few things you can do to fix the problem.
First, try restarting your computer. This will often times fix the issue as it will reset the audio drivers.
If that doesn’t work, you can try updating your audio drivers. Outdated or corrupt drivers can often cause high CPU usage. You can update your drivers manually by going to your manufacturer’s website and searching for the most recent driver available.
If you’re not comfortable doing this yourself, you can use a driver update tool like Driver Easy to automatically update your drivers for you.
Once you’ve updated your drivers, restart your computer and see if the issue has been resolved. If not, there are a few other troubleshooting steps you can take.
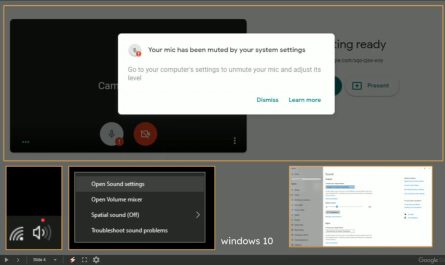
Try disabling any audio enhancements that may be enabled in Windows sound settings. These can sometimes cause high CPU usage by audio device graph isolation. To do this, right-click on the speaker icon in your taskbar and select “Playback Devices”.
In the window that opens up, go to the “Enhancements” tab and disable any enhancements that are enabled.
If all of these troubleshooting steps fail to resolve the issue, it’s possible that there is something wrong with your hardware causing the high CPU usage. In this case, you’ll need to contact customer support for further assistance diagnosing and resolving the problem.
Should I Disable Hd Audio Background?
It’s a common misconception that disabling HD audio background can improve your system performance or fix audio issues. However, this is not the case. In fact, disabling HD audio background can actually cause more problems than it solves.
Here’s why: when you disable HD audio background, your computer has to work harder to process sound. This can lead to increased CPU usage and potential audio glitches. Additionally, some features of Windows 10 rely on HD audio background in order to work properly.
So if you disable it, you may experience problems with certain features not working as they should.
Ultimately, it’s up to you whether or not you want to disable HD audio background. If you’re experiencing audio issues, it’s worth a try.
But if not, there’s no need to disable it – doing so will only cause more problems down the road.
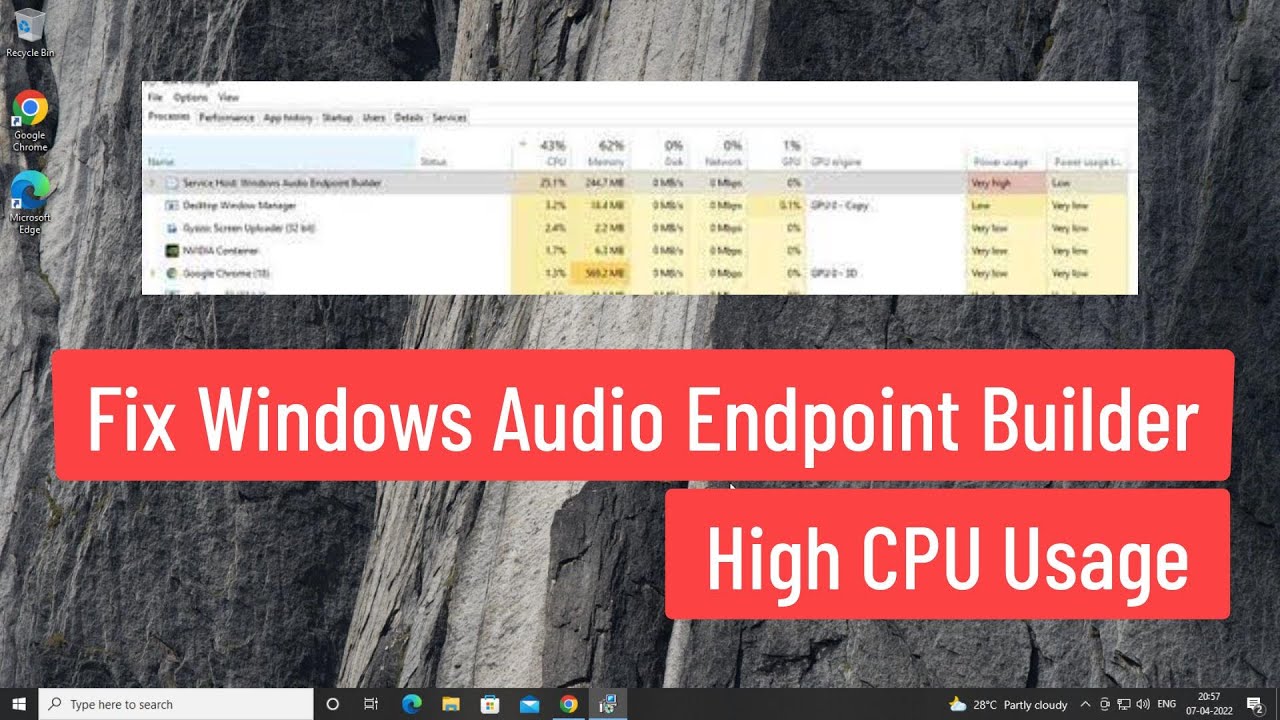
How Do I Fix Windows Audio Endpoint Builder High Cpu?
If you’re seeing high CPU usage by the Windows Audio Endpoint Builder service, there are a few things you can try to fix the issue.
First, make sure that your sound drivers are up to date. Out-of-date drivers can often cause performance issues.
You can update your drivers automatically using Windows Update or you can download and install them manually from the manufacturer’s website.
If updating your drivers doesn’t help, try disabling any audio enhancements that may be enabled. These enhancements can sometimes cause high CPU usage.
To disable audio enhancements, right-click the speaker icon in your taskbar and select “Playback Devices”. In the playback devices window, select your speakers and click “Properties”. Under the “Enhancements” tab, deselect all of the checkboxes.
Click “Apply” and then “OK” to save your changes.
If you’re still seeing high CPU usage after trying these steps, there may be something else going on with your system. Try running a virus scan to see if there are any malware infections causing problems.
You could also try doing a clean boot of Windows to see if there are any startup programs or services that are causing issues.
Fix Windows Audio Endpoint Builder High CPU Usage
Conclusion
If you’re having problems with your computer’s audio performance, it could be due to high CPU usage. This can happen when there’s no sound playing, and can be caused by a number of things. To fix the problem, you’ll need to identify the source of the issue and then take appropriate action.
One possible cause of high CPU usage is an outdated or corrupted audio driver. If this is the case, you’ll need to update your driver to the latest version. You can do this manually by visiting your manufacturer’s website and downloading the most recent driver for your device.
However, if you’re not comfortable doing this yourself, you can also use a driver update tool like Driver Easy to automatically download and install the correct driver for you.
Another potential cause of audio issues is a conflict with another program or service that’s using your audio device. To check for this, open Task Manager and go to the Services tab.
Look for any services that are listed as “Running” and have a status of “Started.” If you see anything related to audio here, right-click on it and select “Stop.” Once stopped, restart your computer and see if the problem persists.
If neither of these solutions solves your problem, there may be something wrong with Windows itself. Try running a System File Checker scan to repair any corrupted files. You can do this by opening Command Prompt (search for “cmd” in Start) and typing “sfc /scannow.”
Once the scan is complete, restart your computer and see if that fixes things.