 by
by Windows 11 can’t change power plan. The options to do so are simply not available in the settings. This is a major problem for laptop users who need to conserve battery power.
It’s also a problem for desktop users who want to save energy. There is no way to change the power plan in Windows 11, which means that Microsoft has either removed this feature or hidden it very well.
Windows 11 can’t change the power plan. This is because the new operating system doesn’t include the power options in the control panel. To change your power plan, you’ll need to use the settings app.
Go to Settings > System > Power & Sleep > Additional Power Settings. From here, you can adjust your computer’s sleep settings, display brightness, and more.
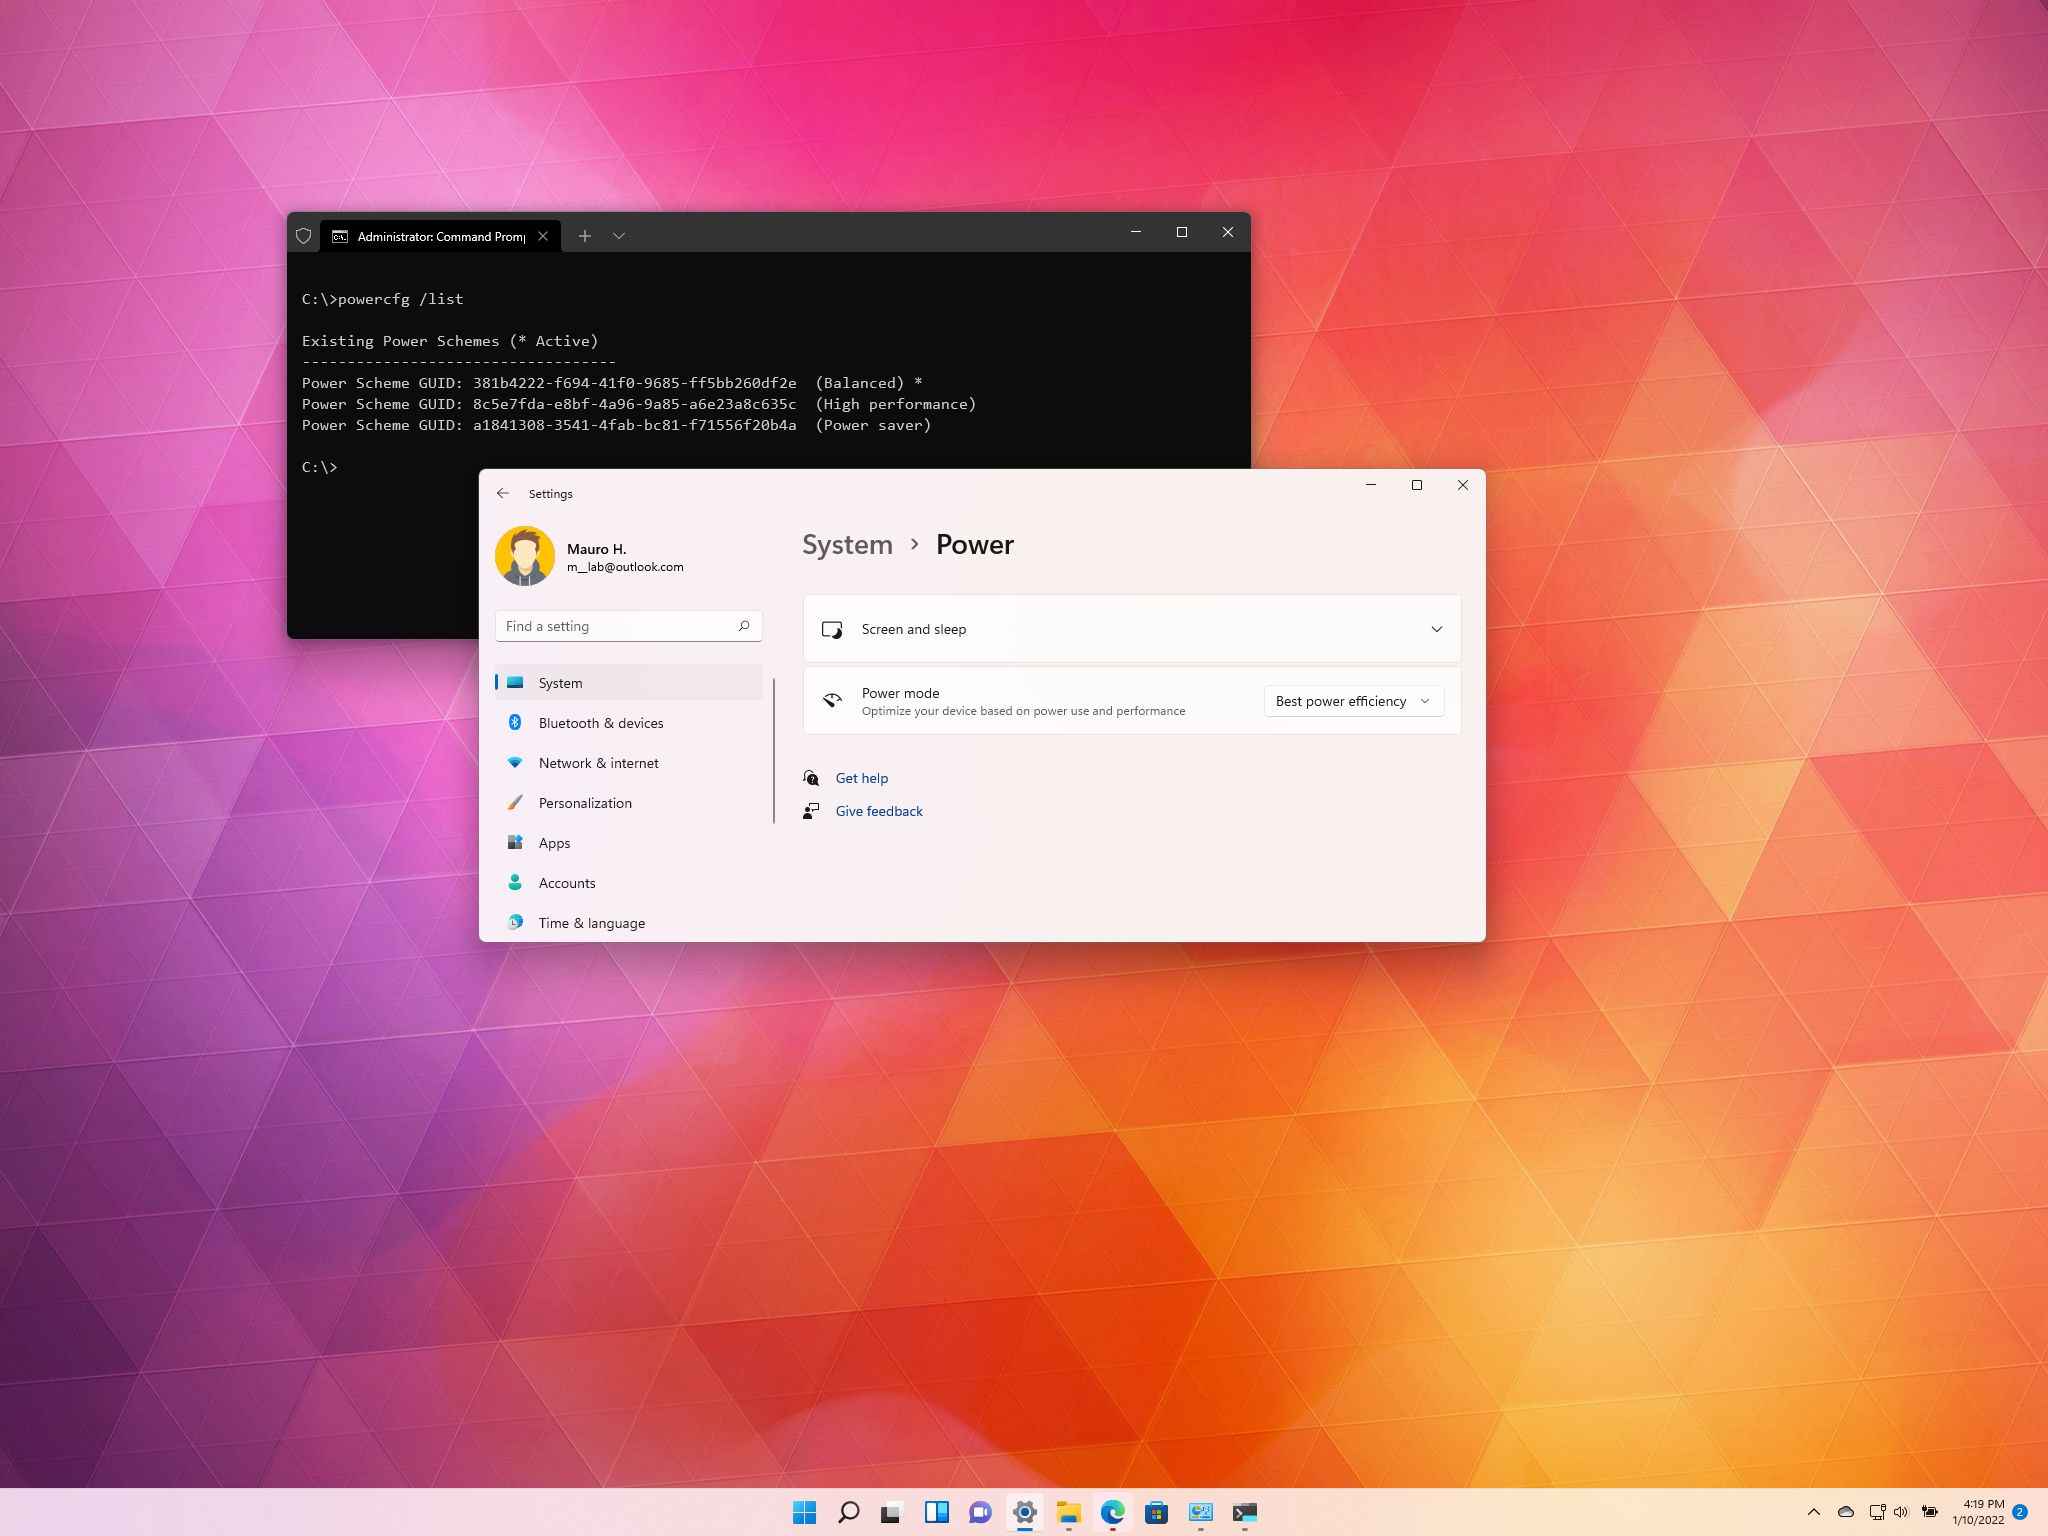
Only Balanced Power Plan Available Windows 11
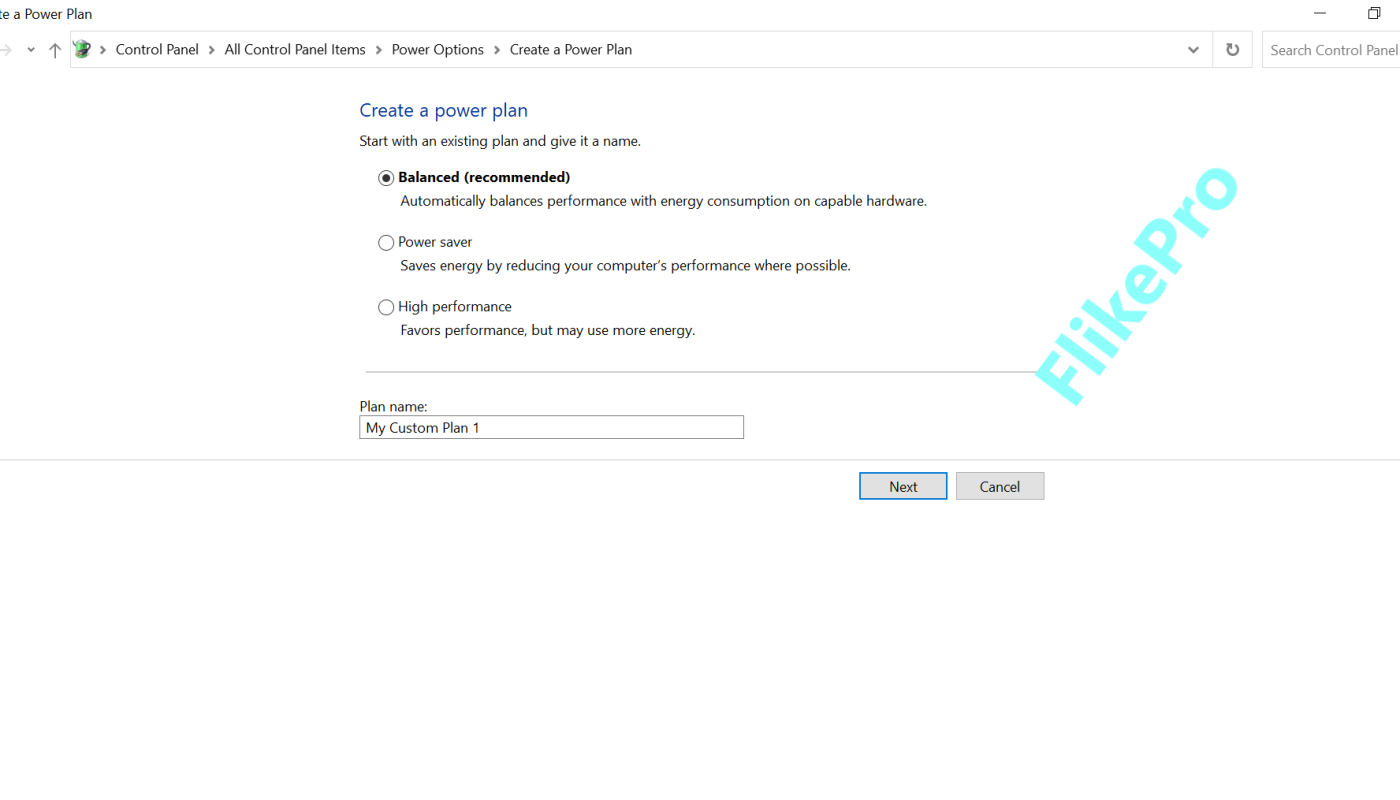
If you’re using Windows 10, you might be surprised to find that there’s only one power plan available: the Balanced power plan. This wasn’t always the case – in previous versions of Windows, there were separate power plans for laptops and desktops, and for different types of devices. But starting with Windows 10, Microsoft has consolidated all of these into a single Balanced power plan.
This change might not be immediately apparent, but it does have some implications for how your device uses power. The most noticeable difference is that the screen dims more quickly when you’re not using it – on a laptop, for example, the screen will dim after two minutes of inactivity. On a desktop PC, the screen will stay at full brightness unless you manually adjust it.
The other major change is that all devices now use the same settings for sleep and hibernation. So if you have a laptop that’s set to go to sleep after 30 minutes of inactivity, your desktop PC will also go to sleep after 30 minutes. This can be changed in the Power Options settings (under “Sleep”), but it’s worth noting that all devices will now follow the same rules.
Overall, the Balanced power plan strikes a good balance between conserving energy and keeping your device running smoothly. If you want more control over how your device uses power, though, you can still create custom plans or use one of the other existing plans (like Power Saver or High Performance).
How Do I Change the Power Plan in Windows 11?
There are a few different ways that you can change the power plan in Windows 11. The first way is to go into the Control Panel and click on “Power Options.” From here, you can select the power plan that you want to use.
Another way to change the power plan is to right-click on the battery icon in the taskbar and select “Power Options.” You can also access this by going into the Start Menu and selecting “Settings,” then “System,” and finally “Power & Sleep.” Under “Additional Power Settings,” you will be able to select which power plan you want to use.
If you want to quickly switch between power plans, you can also do so from the taskbar. Just click on the battery icon and then select which power plan you want to use.
How Do I Fix My Power Plan Not Changing?
If your power plan isn’t changing, it could be due to a few different things. First, check to make sure that the power plan you’re trying to switch to is actually available on your computer. If it’s not, you won’t be able to select it.
Next, check the settings in the power plan itself. Make sure that everything is configured the way you want it and that there aren’t any conflicts with other programs or devices.
Finally, if all else fails, you can try resetting your power options back to their defaults.
This should fix most problems with power plans not working properly.
How Do I Fix Power Options in Windows 11?
If you’re having trouble with your power options in Windows 11, there are a few things you can try to fix the problem.
First, make sure that your power settings are configured correctly. To do this, go to the Start menu and search for “power options.”
Select “Edit power plan” from the list of results.
Once you’re in the power options window, check that all of your settings are correct. If they’re not, you can change them here.
If your power settings seem to be fine, but you’re still having problems, try resetting your PC. To do this, go to the Start menu and search for “reset.” Click “Reset this PC” from the list of results.
Follow the prompts to reset your PC. This will restore your computer to its default settings and hopefully fix any power problems you’ve been having.
How Do You Unlock the Ultimate Power Plan in Windows 11?
Windows 11 is Microsoft’s latest operating system, and it comes with a number of new features and improvements. One of the most notable new additions is the ultimate power plan. This power plan gives users more control over their PC’s power management settings, and it can help to improve performance and battery life.
To unlock the ultimate power plan in Windows 11, simply head to the Settings app and navigate to System > Power & sleep. Here, you’ll see an option for Ultimate power savings. Enable this option and you’re all set!
Once enabled, the ultimate power plan will make a number of changes to your PC’s settings. For example, it will disable certain background processes and services that are not essential for running your PC. It will also lower your screen brightness and resolution, and reduce processor speeds when they are not needed.
Overall, enabling the ultimate power plan is a great way to squeeze some extra performance or battery life out of your Windows 11 PC. Give it a try today!
Power Plan Keeps changing in Windows 10 & 11 (fix)
Conclusion
If you’re using Windows 11 and you can’t seem to change your power plan, don’t worry – there’s a simple fix. Just follow these steps:
1. Open the Start Menu and search for “Edit power plan”.
2. Click on the “Additional power settings” link.
3. In the new window that opens, click on the “Change plan settings” link next to the power plan that you want to change.
4. In the next window, click on the “Change advanced power settings” link.
5. Scroll down to the “Power buttons and lid” section and expand it by clicking on the “+” sign.
6. Find the “Lid close action” setting and change it from “Sleep” to “Do nothing”.
7 Save your changes and exit all windows.