
 by
by Most people name their computer’s hard drive after the manufacturer’s name or the model number. This can be helpful when you’re trying to find a specific drive in Device Manager, but not so much when you’re trying to figure out which drive is which when you’re looking at them in File Explorer. If you want to change the label/name of a drive in Windows 10, there are a few different ways you can do it.
Step 1: Rename a Drive with Two Single Clicks
Renaming a Drive with Two Single Clicks is a feature in Windows 10 that makes it quick and easy to rename your drives. All you need to do is select the drive you want to rename from the list of drives in File Explorer, click once again on the drive, and then type in the new name for the drive.

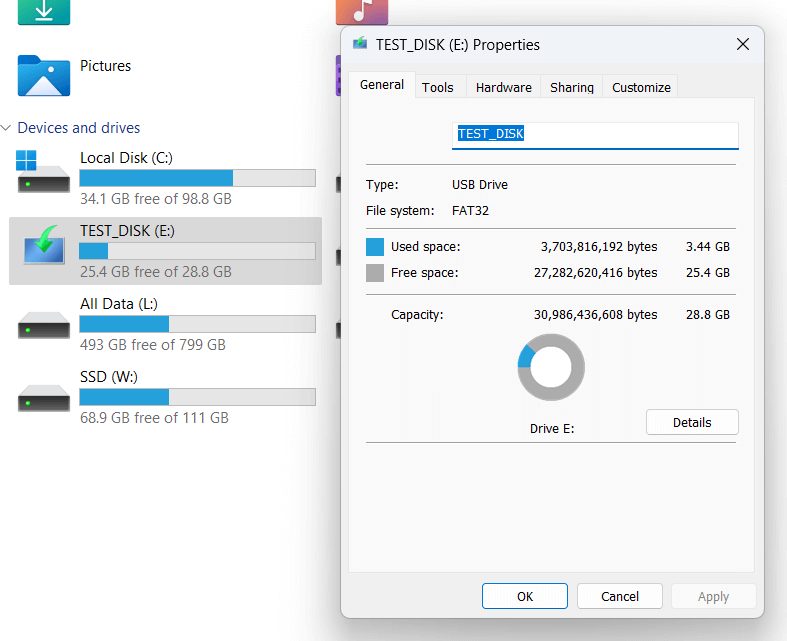
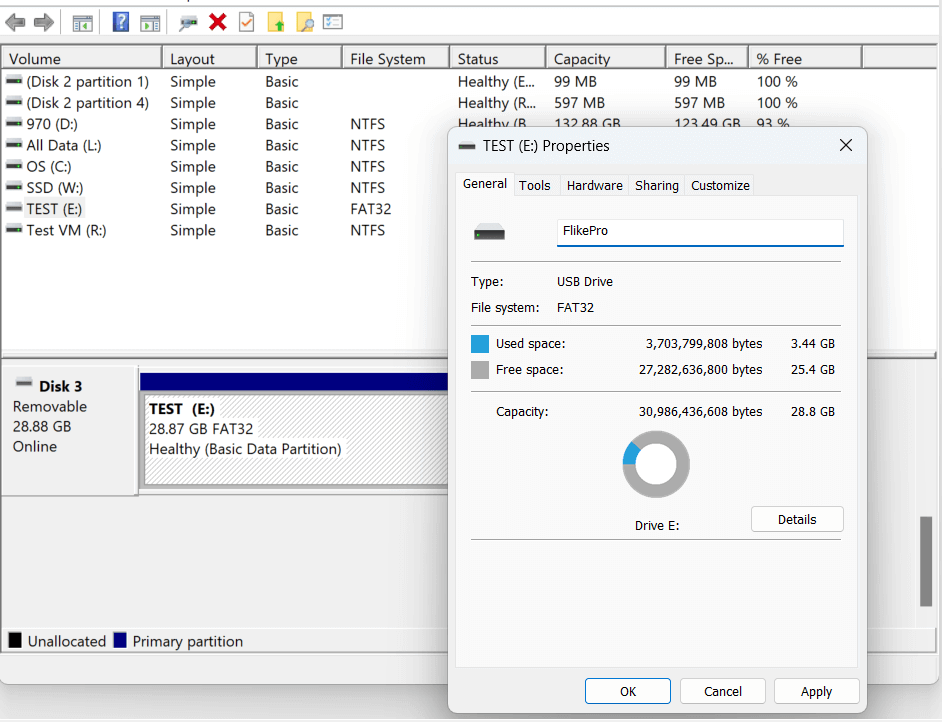
Step 2: Rename a Drive in Properties
Use the following steps to rename a drive in Properties:
- Right-click the drive you want to rename and select Properties.
- In the General tab, click the Change button next to the drive’s current name.
- Type the new name for the drive and click OK.
- Click OK and close the drive’s Properties dialog box.
Step 3: Rename a Drive from File Explorer Ribbon
In File Explorer, click or tap the drive you want to rename under This PC in the left pane.
Click or tap the drive you want to rename to select it, then click the Manage tab on the ribbon. Click the Rename button in the ribbon. Enter a new name for the drive, then click or tap the Rename button.

Step 4: Rename a Drive using Keyboard Shortcut
To rename a drive using a keyboard shortcut:
- Select the drive you want to rename.
- Press F2.
- Type a new name for the drive.
- Press Enter.

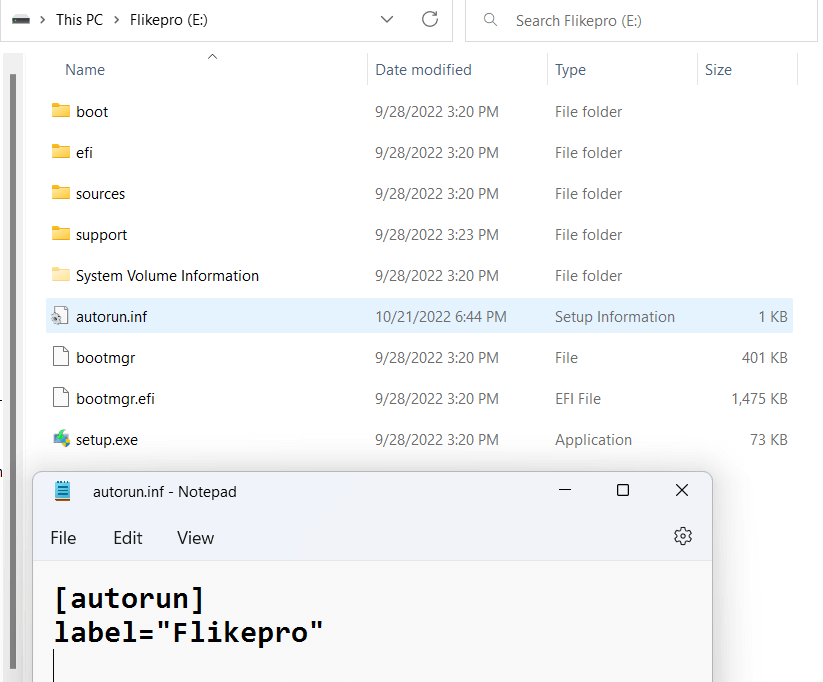
Step 5: Specify a Drive Label using autorun.inf file
It is possible to rename a drive using the autorun.inf file. This file can be placed in the root directory of the drive and can contain a line that renames the drive. For example, the following line would rename the drive to “Flikepro”:
[autorun]
label=”Flikepro”
Step 6: Rename a Drive in disk management
To rename a drive in Windows Disk Management, right-click on the drive in the Disk Management window and select Rename from the pop-up menu. Enter the new name for the drive and press Enter.
- open create and format hard disk setting
- Select the drive you want to rename and click properties
Step 7: Rename a Drive in Command Prompt
To change the name of a drive, you will need to use the ‘label’ command in Command Prompt. This command will allow you to rename any drive on your computer, including your main hard drive. To use this command, you will need to open Command Prompt as an administrator. Once Command Prompt is open, you will need to type in the following command:
- Open CMD
- type ‘label E:FlikePro’
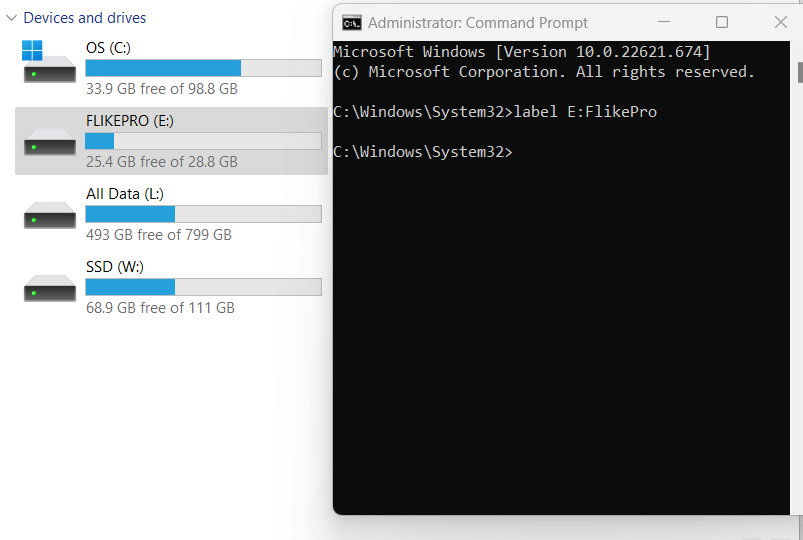
That’s all there is to it! From now on, the drive will be labeled with the new name that you assigned to it.